
Unlock the Language of Textile Art
Punch needle embroidery transcends simple loops—it’s a tactile art form with a rich technical lexicon. Whether you’re a beginner or seasoned maker, mastering these terms empowers you to follow advanced tutorials, select precision tools, and create enduring pieces. Consider this your definitive glossary for confident craftsmanship.
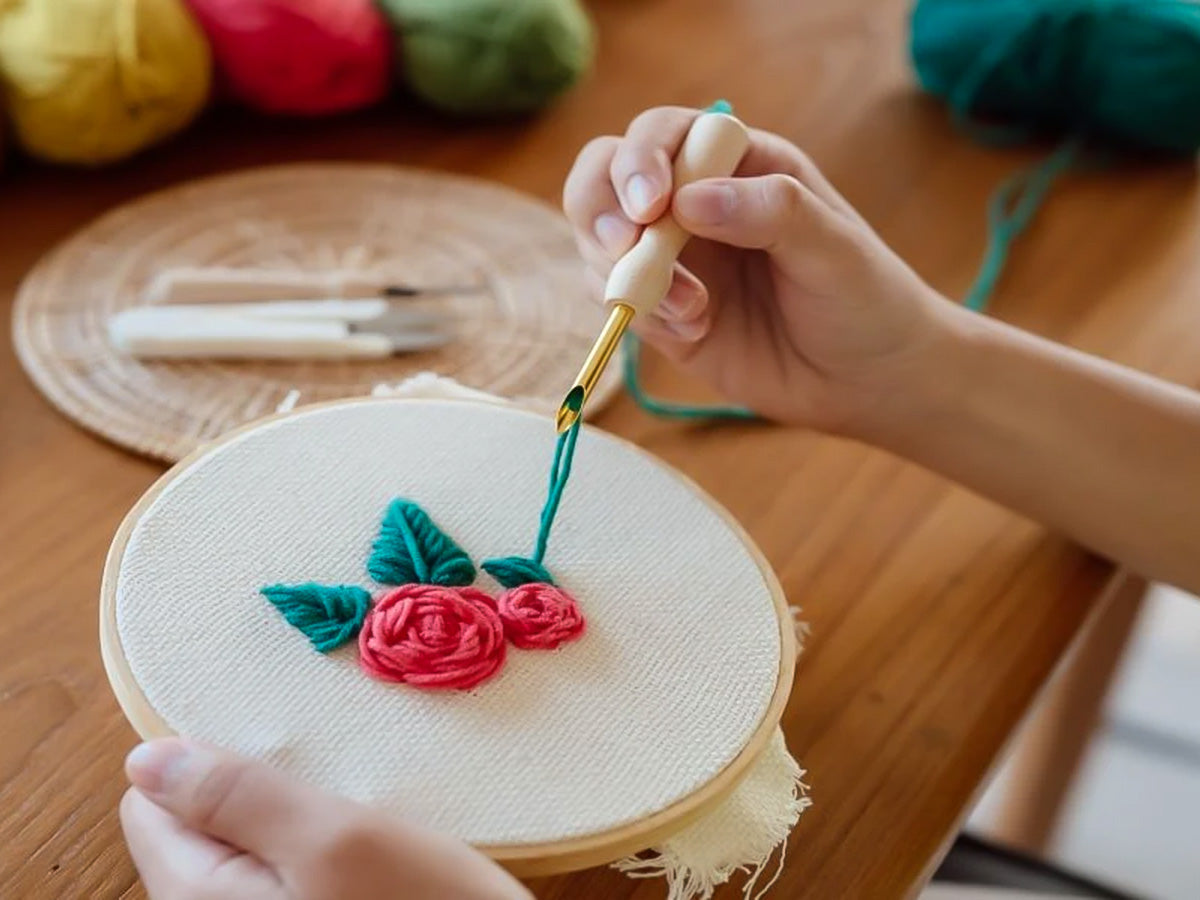
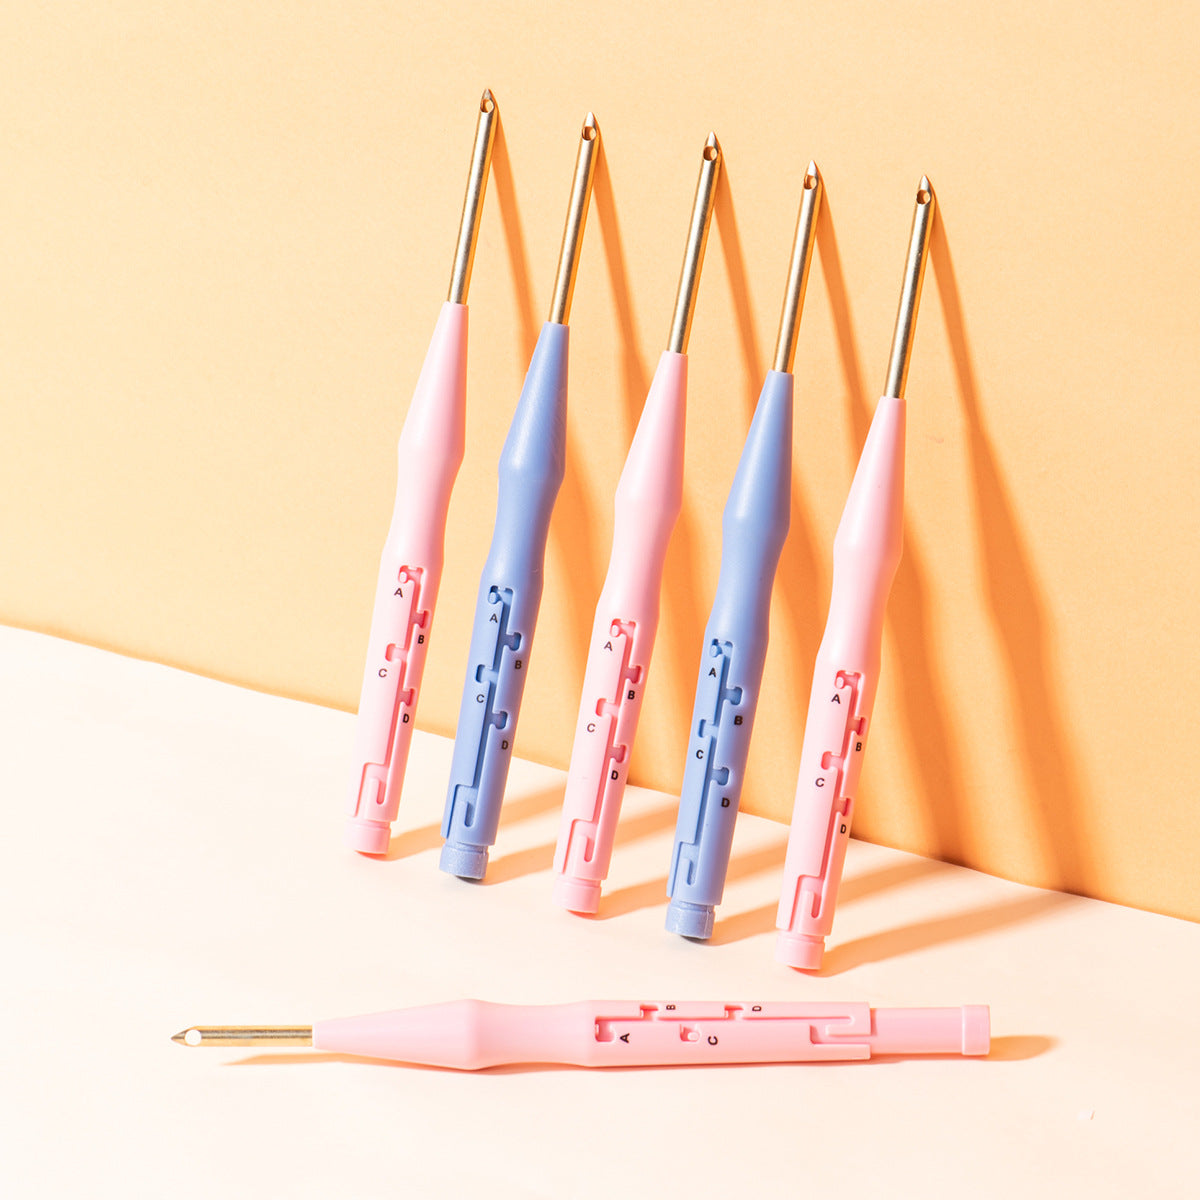
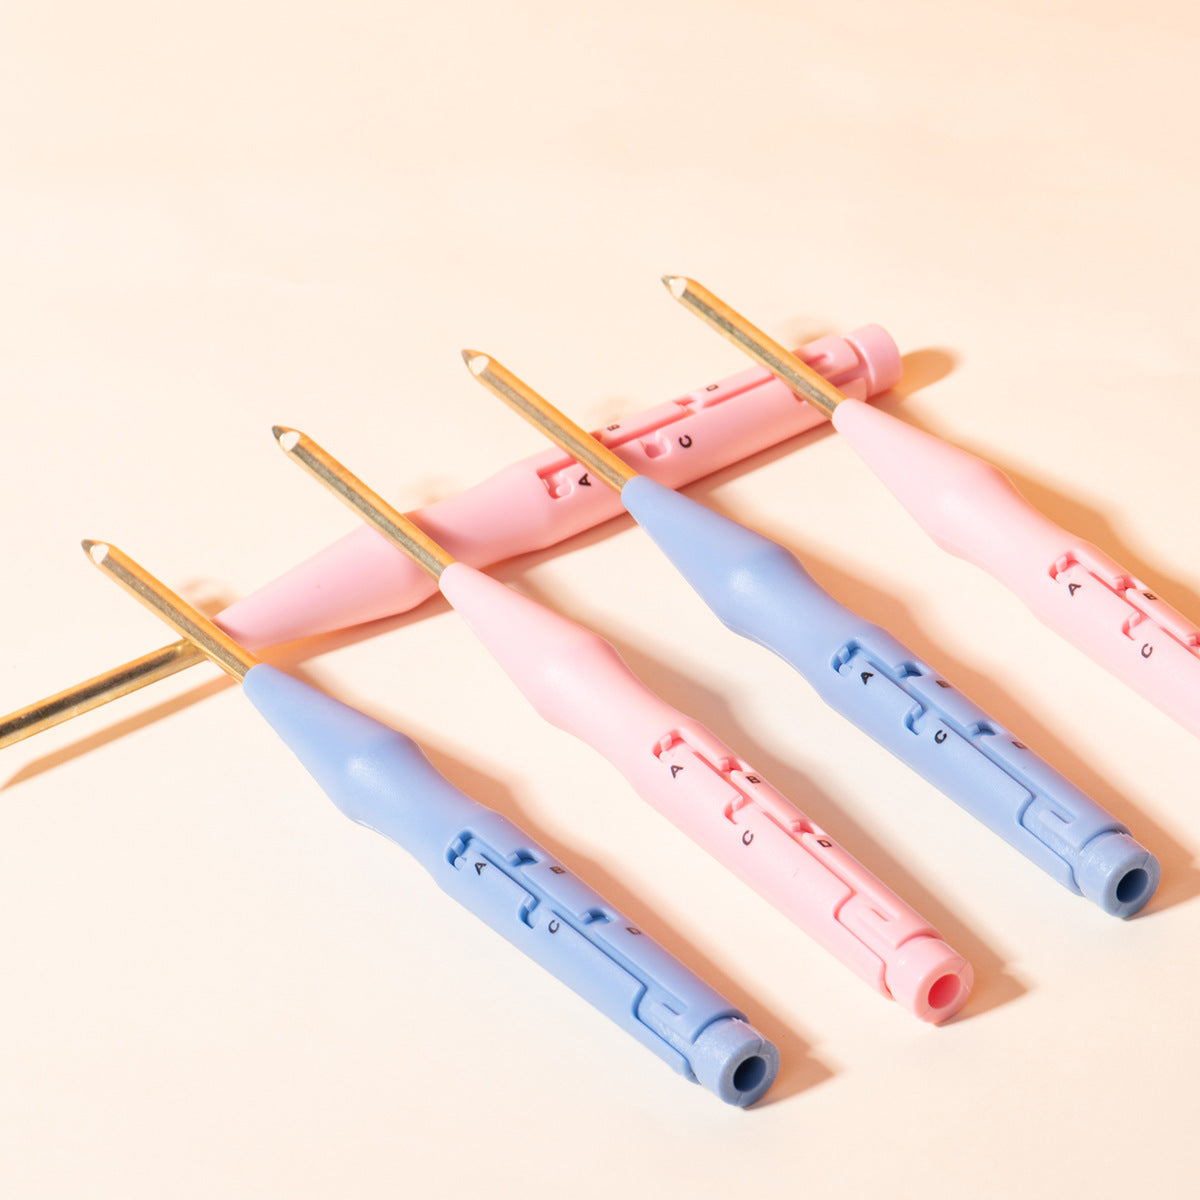
1. Punch Needle Tool
Your primary instrument: a hollow, pen-like device with a sharp tip that punches yarn through fabric to form loops. Needle sizes vary—chunky yarns pair with larger needles, embroidery floss with finer ones. Pro Tip: Adjustable needles control loop height via a twist mechanism.

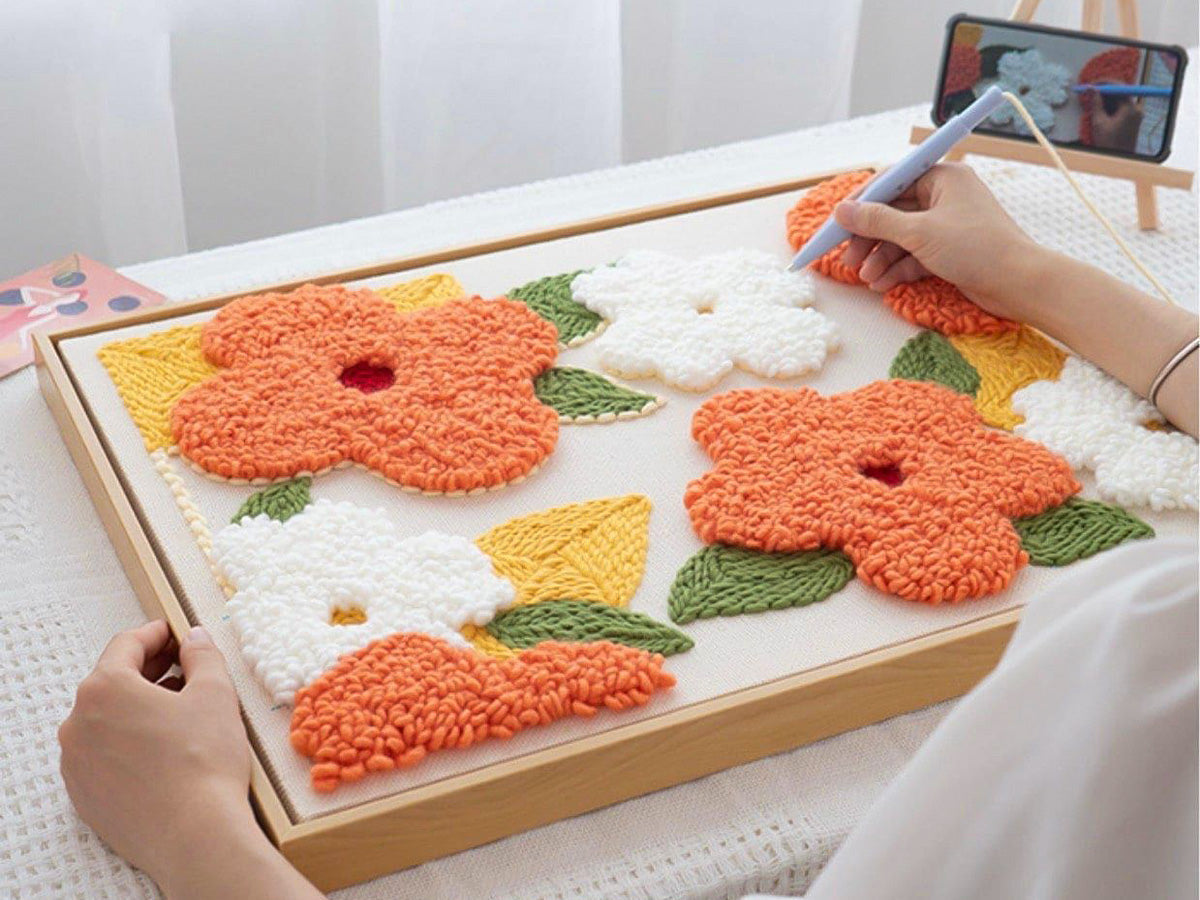
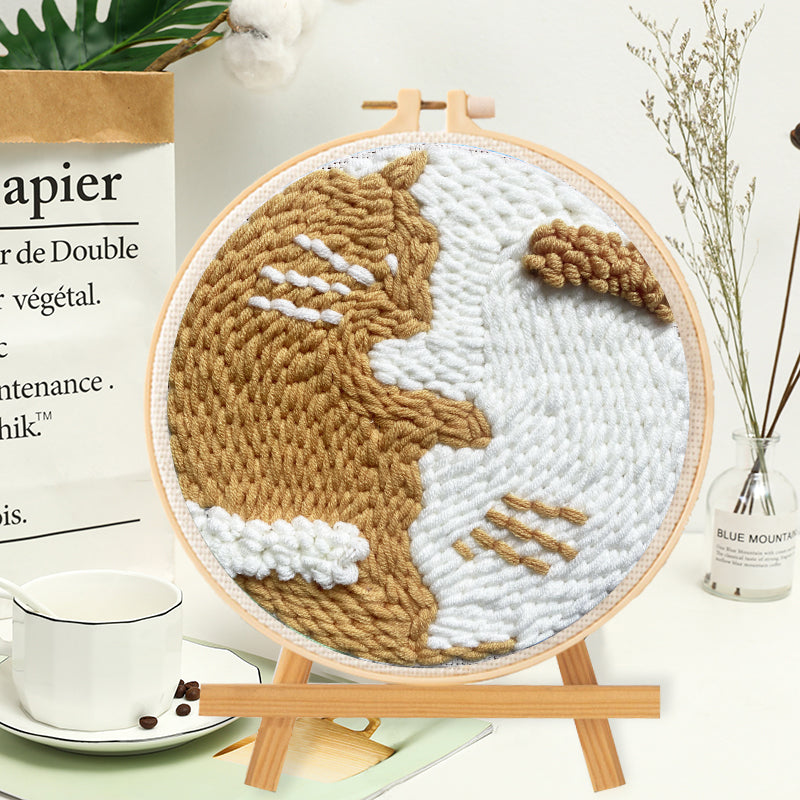
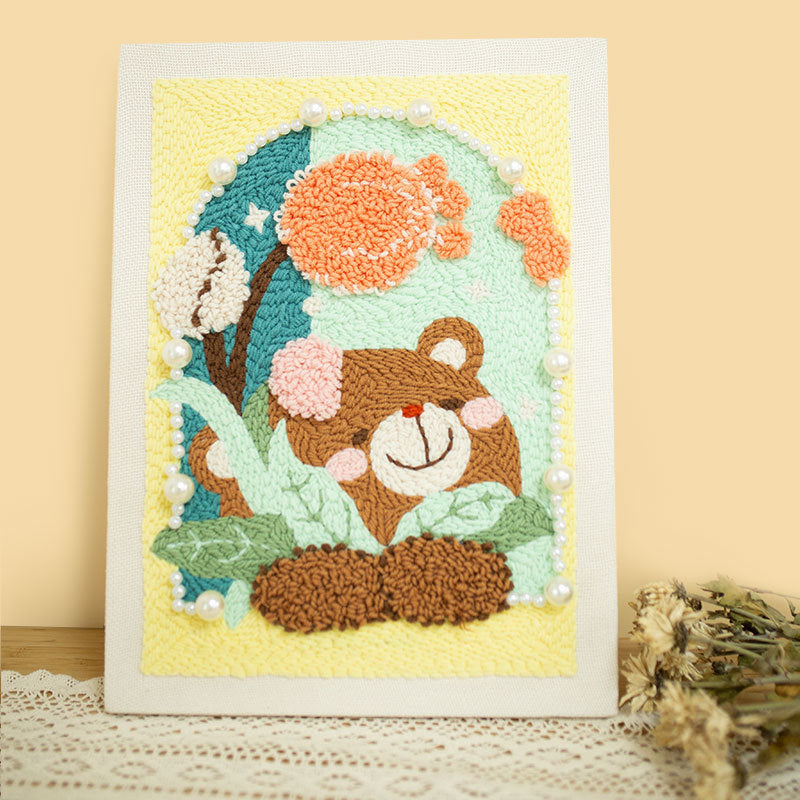
2. Loop Pile
The signature 3D texture: raised, uncut loops created during punching. Maintain consistent height/spacing for crisp designs. Creative Option: Trim loops selectively for mixed-texture effects.

3. Foundation Fabric
The critical base layer. Monk’s cloth (industry standard) offers a visible grid and forgiving weave. Alternatives: tight-weave linen or rug warp. Non-Negotiable: Mount fabric drum-tight in a frame to secure loops.

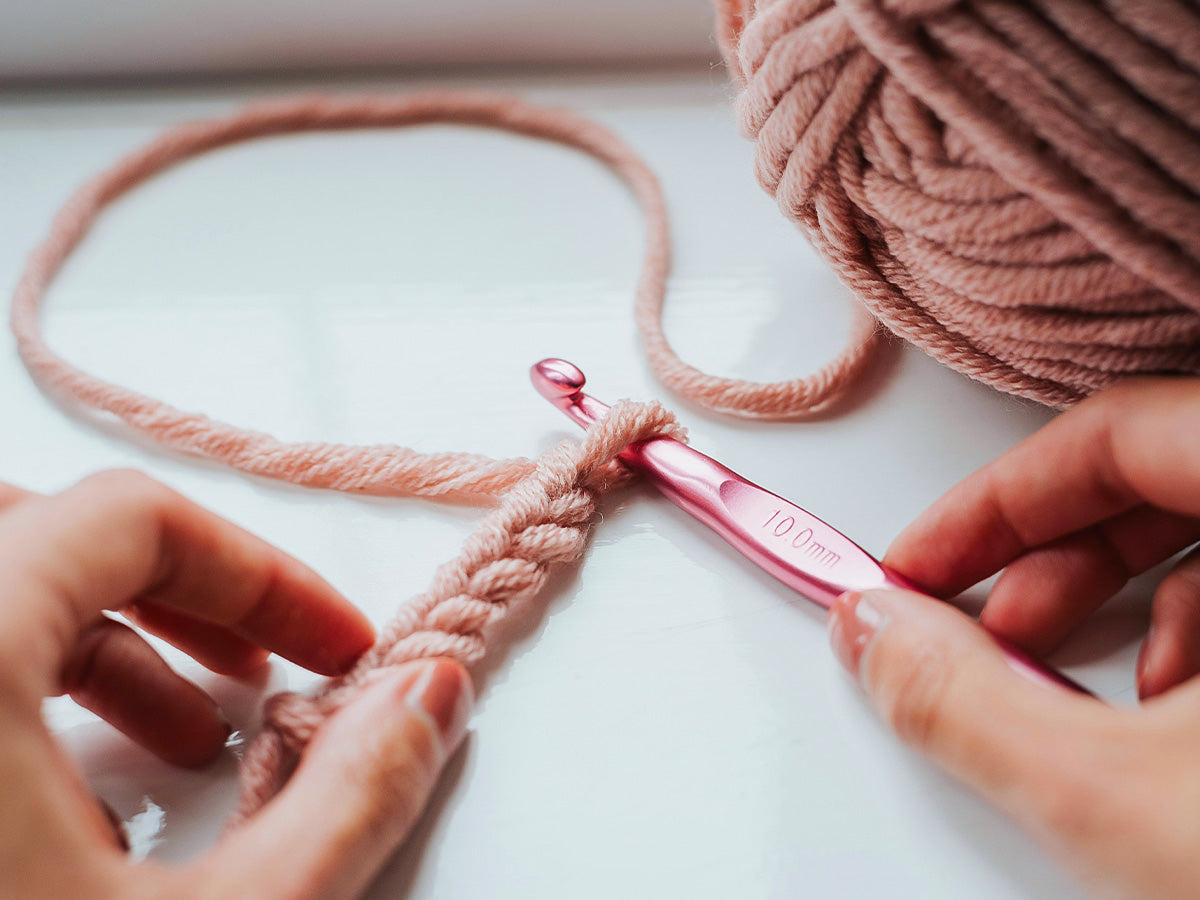
4. Yarn Weight & Compatibility
- Thickness dictates density and detail:
- Bulky yarns = bold, plush textures
- Fine threads = intricate detailing
- Golden Rule: Match yarn weight to needle size to prevent tension issues or skipped stitches.

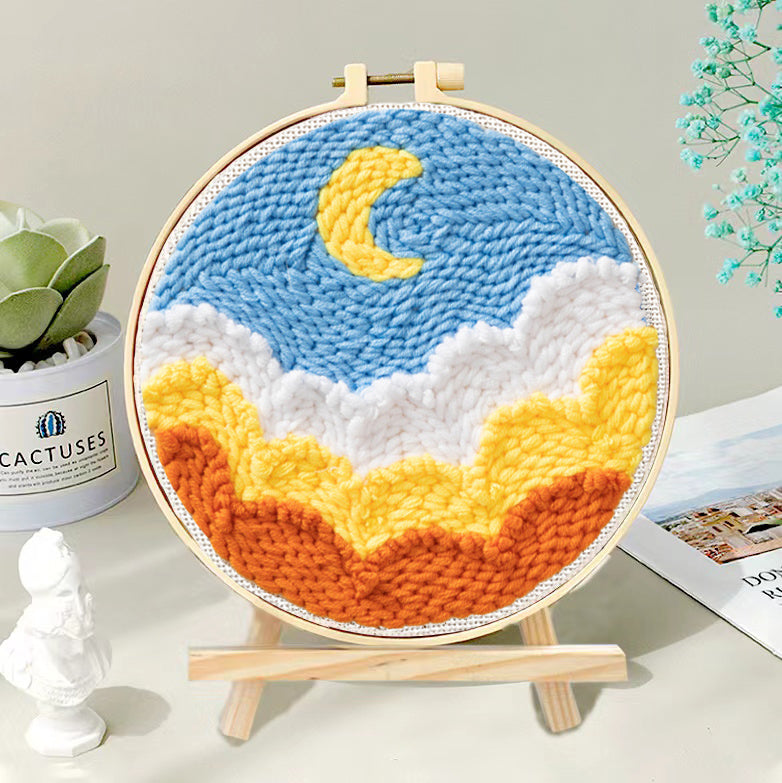
5. Embroidery Frame / Hoop
Tension is everything. Use wooden gripper frames, Q-snap systems, or non-slip hoops. Tight fabric = even loops and professional results.

6. Cut Pile
Sheared loops create velvety, flat surfaces. Achieve with sharp scissors or loop trimmers. Design Hack: Combine cut and loop piles for dimensional contrast.

7. Threading Wire
The unsung hero: a flexible wire that threads yarn through narrow needle chambers. Essential for: Fine-needle work and avoiding frayed fibers.

8. Right Side vs. Working Side
- Loop Pile Side (traditional "back"): Textured, sculptural surface
- Working Side (traditional "front"): Smoothed, flat appearance
- Design Note: Choose your display side based on aesthetic goals—both are valid.

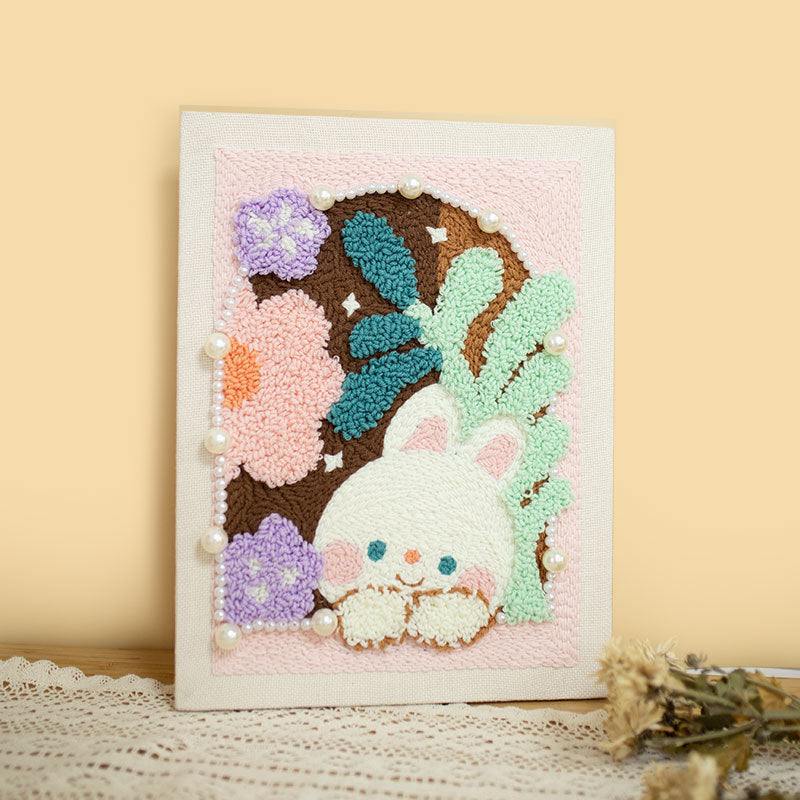
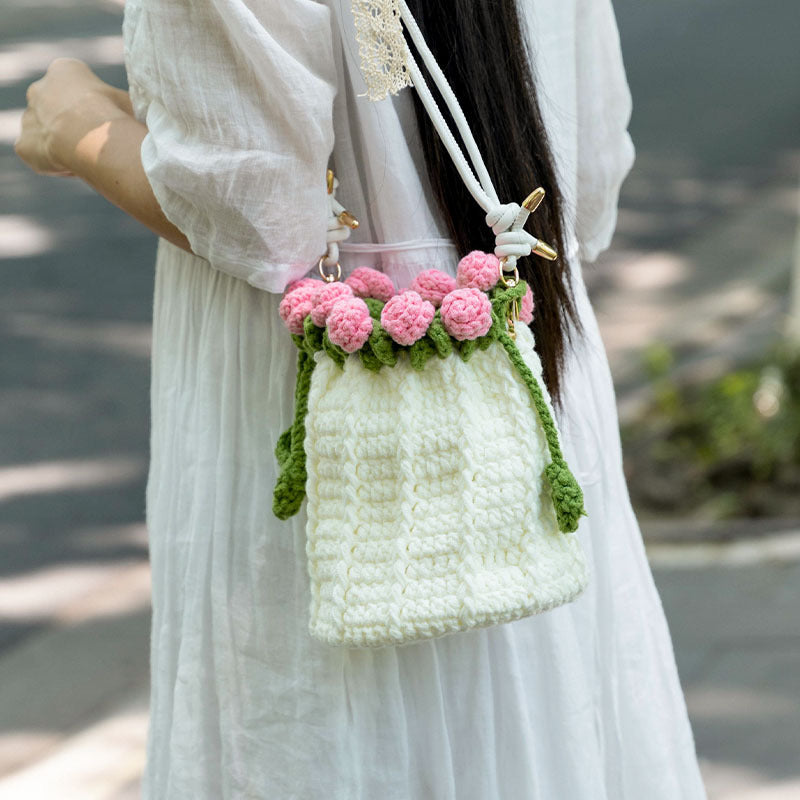
9. Professional Finishing
Secure loops permanently with:
- Fabric-safe adhesive
- Linen backing (hand-stitched)
- Gallery-style floating frames
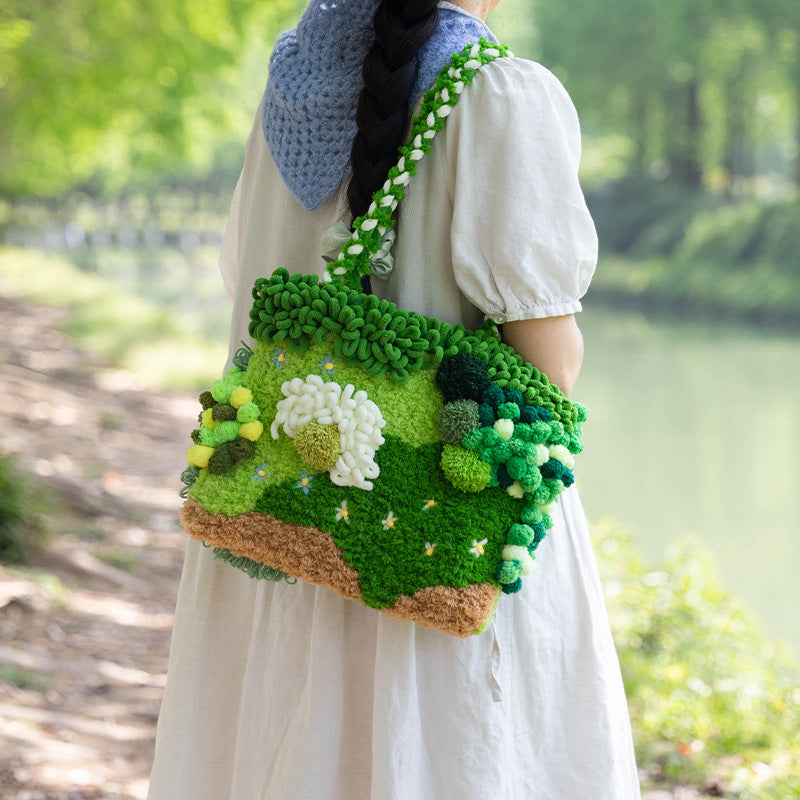
- Functional mounts (pillows, wall hangings, rugs)

10. Troubleshooting Key Terms
- Pull-Through: Yarn slips out → Solution: Tighten fabric tension or use thicker yarn.
- Skipping: Missed loops → Solution: Check fabric tautness; punch vertically.
- Over-Punching: Dense, weakened areas → Solution: Maintain consistent stitch spacing.

Final Insight: Speak the Language Like a Pro
Mastering punch needle vocabulary transforms how you interpret patterns, select materials, and engage with the global textile art community. Now that you’re fluent in the craft’s core terminology, it’s time to bring your vision to life.
Ready to Elevate Your Punch Needle Journey?
Discover premium tools, designer patterns, and inspired materials at divweavd.com → Your destination for:
✓ Curated Punch Needle Kits (Beginner to Pro)
✓ Ergonomic Tools & Frames for flawless tension
✓ Exclusive Pattern Designs – Modern, botanical & abstract styles
✓ Specialty Yarns & Fabric Bundles pre-matched for perfect loops
✓ Cross-Craft Essentials – Embroidery hoops, linen, and textile art accessories